Creating a Network
This guide walks you through creating a new seismic network in Grillo Cloud.
Prerequisites
- A Grillo Cloud account
- An organization (you must be Owner or Admin)
Steps to create a network
1. Navigate to networks
- Log into cloud.grillo.io
- Select your organization
- Click "Networks" in the sidebar
2. Start network creation
- Click "Create network" or the "+" button
- The network creation form will appear
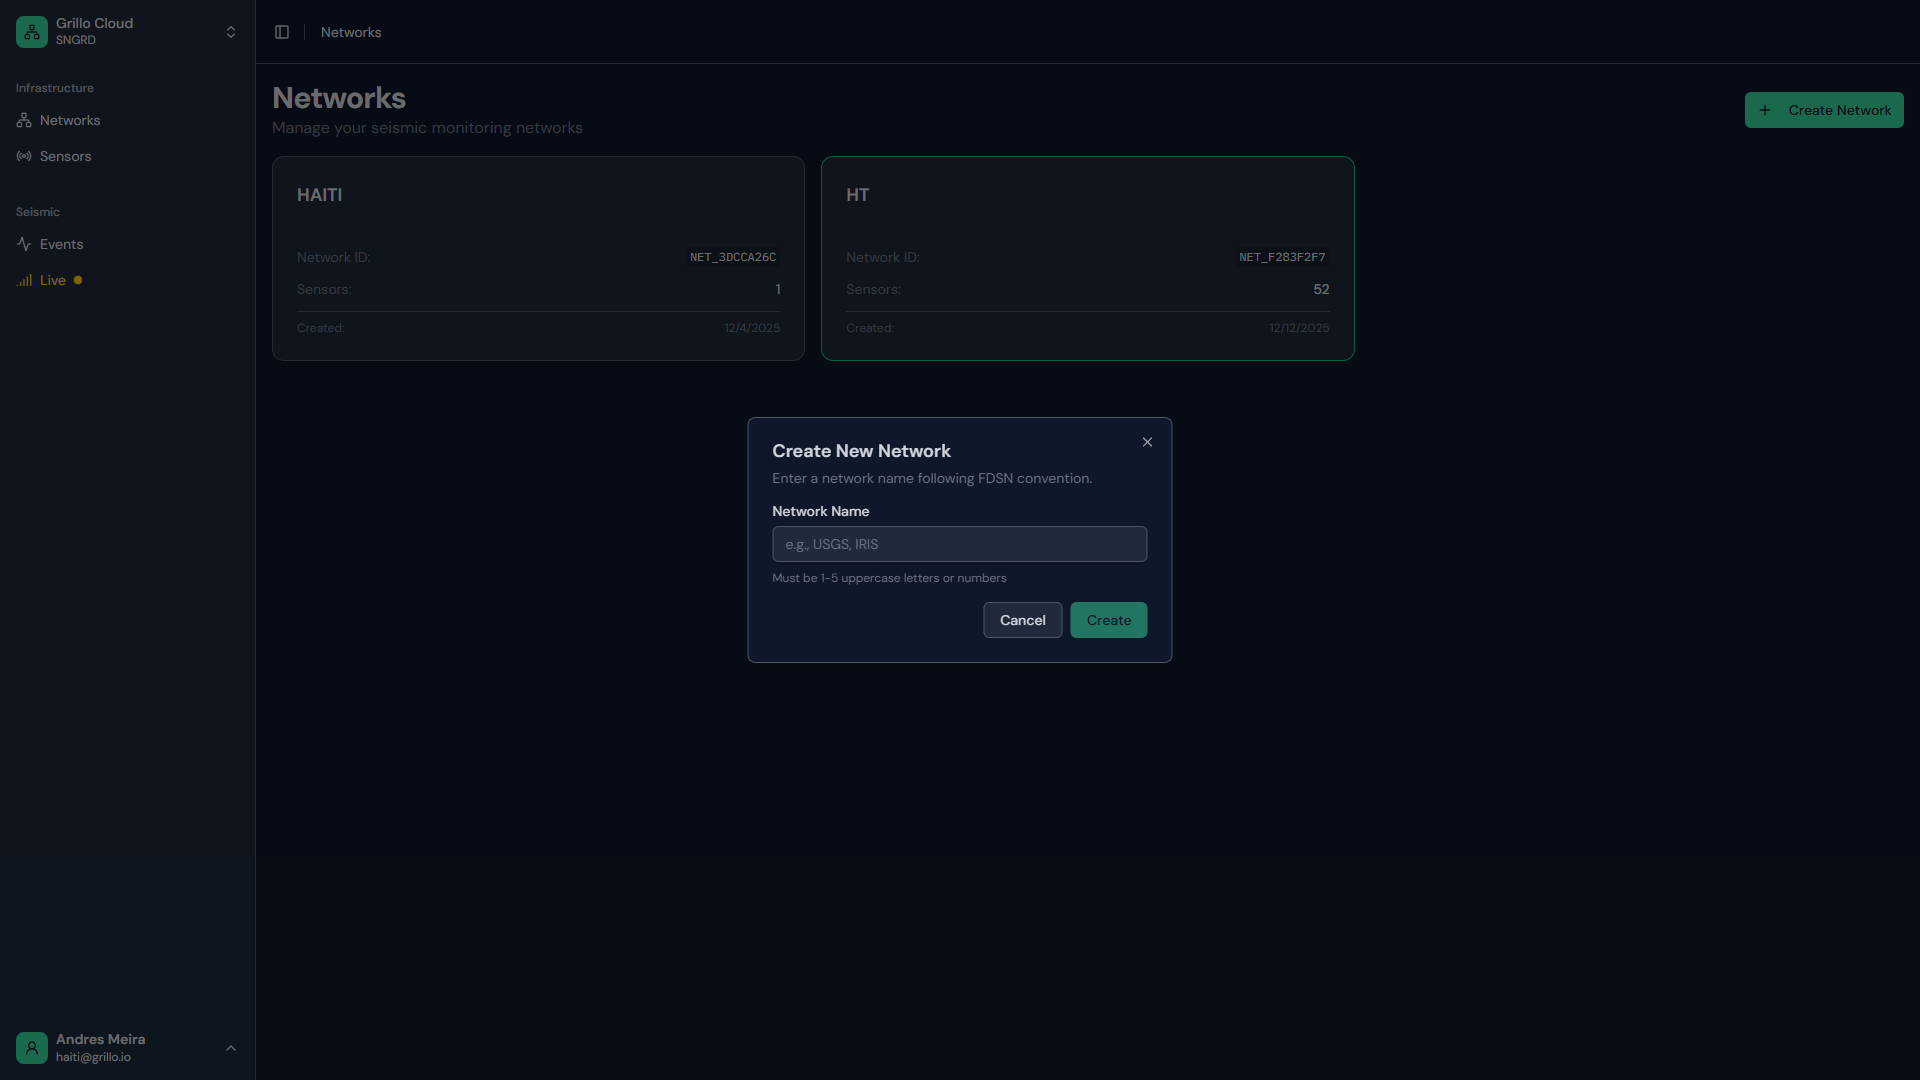
3. Enter network details
| Field | Required | Description |
|---|---|---|
| Network name | Yes | Display name for your network |
| Description | No | Purpose, coverage area, or notes |
| Default location | No | Geographic center for map view |
| Timezone | No | Default timezone for data display |
Network name tips
- Use descriptive names
- Include location or purpose
- Keep it concise but clear
Good examples:
- "San Francisco Bay Area"
- "University Research Network"
- "Building Complex A"
Avoid:
- "Network 1" (not descriptive)
- "test" (not meaningful)
4. Configure optional settings
Default location
Setting a default location:
- Centers the map view appropriately
- Helps with geographic context
- Enter coordinates or search for a location
Timezone
Select the timezone for this network:
- Affects how times are displayed
- Choose the timezone where most sensors are located
- Can be overridden per user in profile settings
5. Create the network
- Review your settings
- Click "Create network"
- You'll be redirected to your new network's page
After creating a network
Your network is now ready for sensors:
Next steps
- Add sensors - Provision and add your first sensor
- Invite team - Ensure team members have access via organization membership
- Configure settings - Fine-tune network settings
Empty network view
A new network will show:
- Empty map
- Empty sensor table
- Zero sensors count
This is normal - add sensors to populate the network.
Network types
Standard network
Default network type:
- Sensor management
- Data visualization
- Basic monitoring
Event-enabled network
With events subscription:
- All standard features
- Automatic event detection
- Event catalog
- Alert capabilities
Editing network details
To edit a network after creation:
- Navigate to the network
- Click "Settings" or the gear icon
- Modify the desired fields
- Click "Save"
Deleting a network
warning
Deleting a network removes all sensor associations and network data.
To delete a network:
- Navigate to network settings
- Scroll to "Danger zone"
- Click "Delete network"
- Confirm by typing the network name
- Click "Permanently delete"
What happens when deleted:
- Sensors are disassociated (not deleted from your account)
- Historical data may be retained per data retention policy
- Events associated with the network are retained
- Action cannot be undone
Troubleshooting
Can't create network
- Verify you have Admin or Owner role
- Check if you've reached network limits
- Try refreshing the page
- Contact support if issues persist
Network name already exists
Network names must be unique within an organization:
- Add a location or number to differentiate
- Example: "Downtown Network" → "Downtown Network - Phase 2"
Next steps
After creating your network: