Grillo Cloud Dashboard
The Grillo Cloud dashboard at cloud.grillo.io is your central hub for managing sensors, networks, and viewing seismic data.
Key features
- Account management - Sign up, manage profile, security settings
- Organizations - Create and manage teams
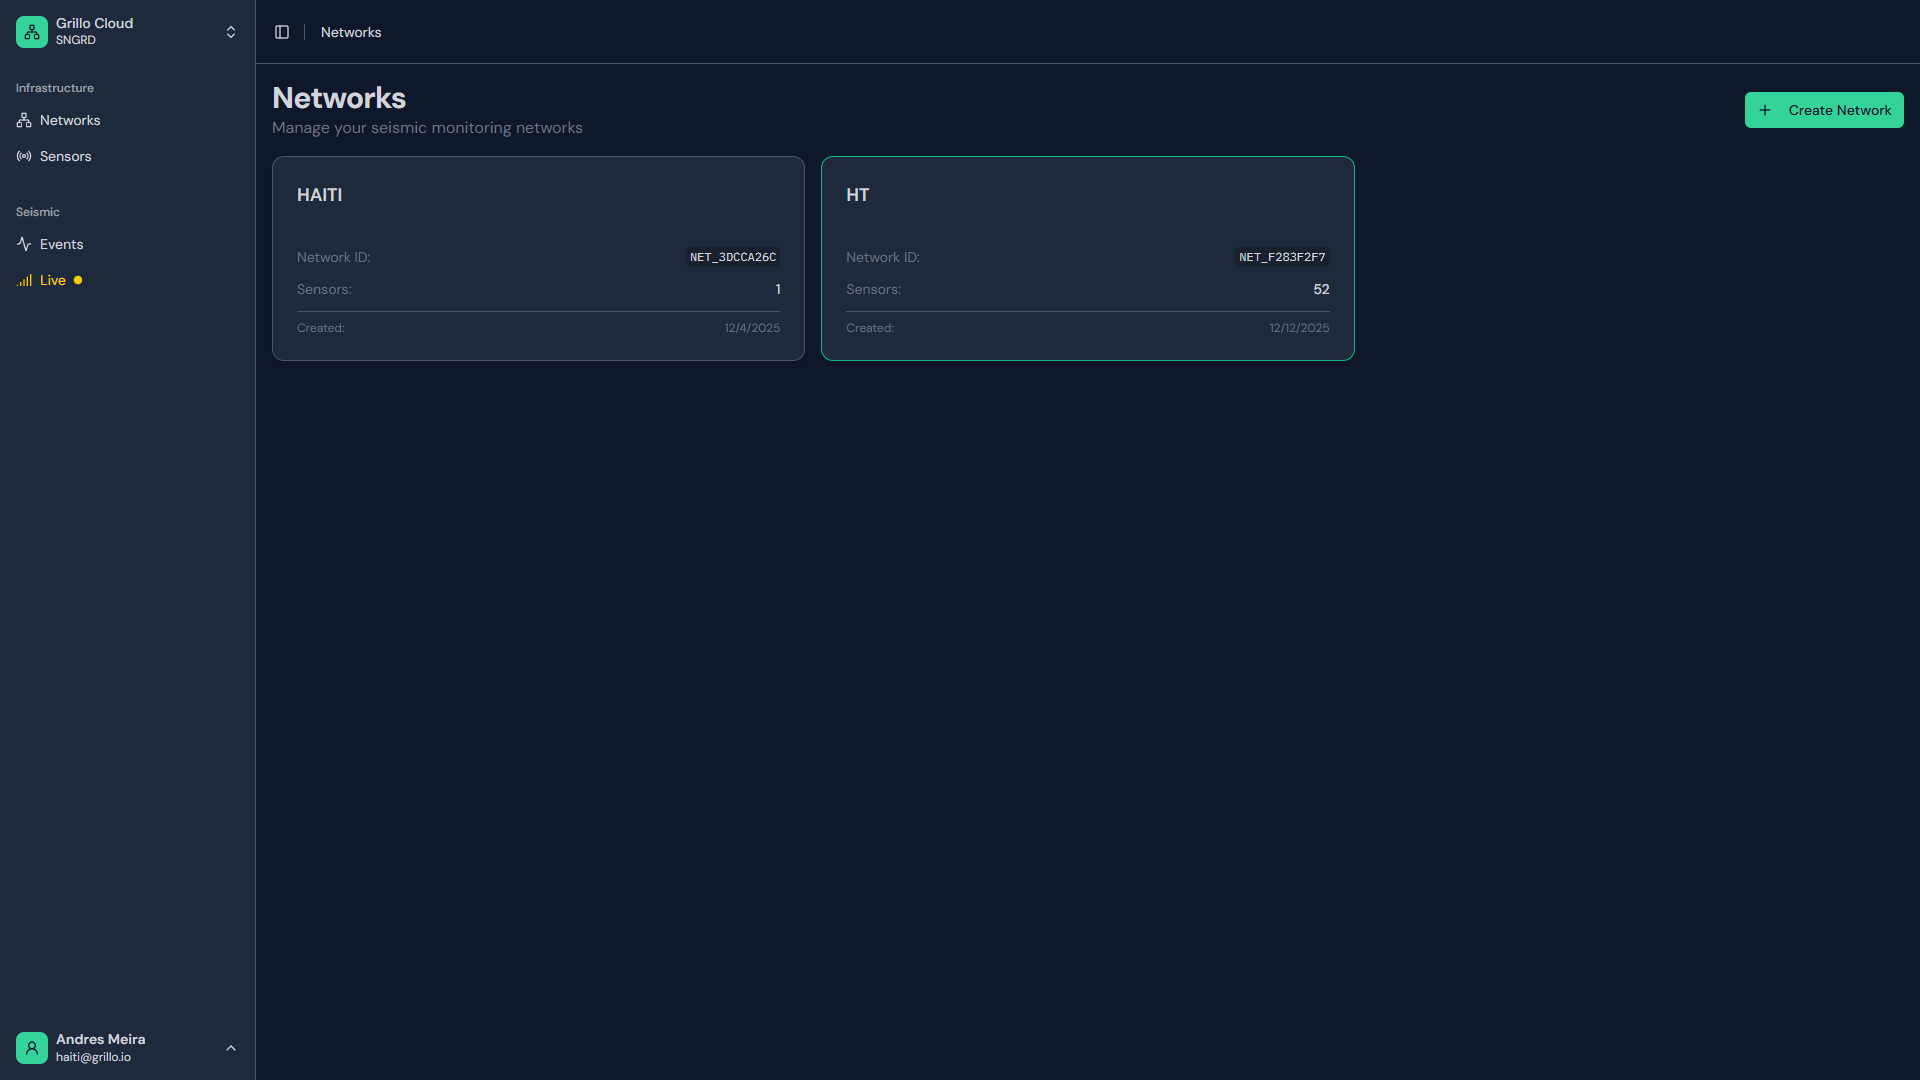
- Networks - Build and configure seismic networks
- Sensors - Monitor and configure your devices
- Events - View detected earthquakes and alerts (premium feature)
Dashboard hierarchy
Understanding how Grillo Cloud is organized:
Account
└── Organizations (you can belong to multiple)
    └── Networks (seismic networks within an org)
        └── Sensors (devices within a network)
            └── Events (detected from network data)
Getting started
1. Create an account
Sign up using Google, Microsoft, or email at cloud.grillo.io.
2. Set up your organization
Create an organization or join an existing one via invitation.
3. Create a network
Set up your first seismic network to start adding sensors.
4. Add your sensors
Register your Grillo devices and start collecting data.
Dashboard sections
Account
Manage your personal account settings, security, and preferences.
Organizations
Manage teams and access to seismic networks.
Networks
Configure and monitor your seismic networks.
Sensors
View, configure, and monitor your Grillo devices.
- Overview
- Adding a sensor
- Map view
- Table view
- Sensor details
- Configuring sensors
- Station naming (FDSN)
- Location info
- Sensor status
Settings
Configure dashboard preferences and integrations.
Browser support
Grillo Cloud dashboard works best in modern browsers:
| Browser | Minimum Version |
|---|---|
| Chrome | 90+ |
| Firefox | 90+ |
| Safari | 14+ |
| Edge | 90+ |
Mobile access
The dashboard is responsive and works on mobile devices. For the best experience on phones and tablets:
- Use landscape mode for map views
- Use portrait mode for tables and lists
- Pinch to zoom on maps